Prius 100,000 mile maintenance

  Part 1: Overview;   tires/brakes
  Part 2: Underhood
==>   Part 3: Headlights: the Big Schnoz
  Part 4: Inverter pump
  Part 5: Coolant testing
  Part 5b: Engine coolant
  Part 6: Transaxle / driveline, references


The big plastic schnoz

The entire nose of the car is one large plastic piece, and knowing how to remove or at least loosen parts of it paves the way toward accessing many other things. In particular, there are some tricks that many professional auto techs use with modern car construction and flexible materials to greatly shortcut various disassembly procedures that otherwise seem cumbersome in the repair manuals.
The black radiator-cover shroud needs to come out first, by releasing its six things-which-are-not-screws [small cyan arrows]. They don't unscrew, the phillips fitting just pops up the center pin after which the whole fastener can come out of the hole. Then there's a mixed bag of fasteners [yellow] along the upper grille piece -- two screw-down rubber bumpers [which *are* real phillips screws!] and three larger expanding clips. Official two-prong tools of some sort exist to grab and pull up the center pins of these and similar expandy-clips, but they can be carefully pried up using a small screwdriver and coming at it from a couple of different directions helps avoid breaking it. Raising the pin relaxes the side ears holding it in, after which the whole thing is extracted.

The point of having the black plastic cover has never quite been understood, but it does seem to catch its share of dirt when in place which presumably doesn't make it onto the engine. It probably has more to do with airflow right under the hood surface.


The headlight assembly is held at three places. One is an obvious bolt into the inner lip of the fender piece. The second is revealed by flexing away the upper grille part of the nosepiece, which we can now do with the top fasteners removed.

The third, however, is more interesting to find. I was in a tech-training class where some guys removed a Prius headlight so quickly and elegantly I never actually saw what they did. So here I set out to recreate that and document the knowledge. Presumably it is similar in other modern cars that aren't a Prius, as the same materials and construction are common now.


Having the car up on ramps or at least partially lifted with a jack helps here, as we need to access a few things underneath. The next step is to disconnect the fender-liner piece from the nosepiece, which are attached to each other with several little S-clips with bolts through them and some other expanding clip pins.

The S-clips are rather clever: they accomodate and reinforce an overlapping joint between two panels, and a self-tapping screw goes up through the middle into a fairly healthy chunk of plastic. Small ridges at the bends allow the connecting pieces to snap positively into place and self-align to the holes well before the screw is threaded in.

So it may be necessary to bend the clips out slightly to release the pieces they hold. In this case the black fender-liner piece would slide in on top of the gray/green nosepiece tab, and self-guide right into position. But we're trying to get all this *apart* at the moment.

Use safety-glasses and/or don't look straight up into this while taking it apart, as road crud tends to rain out of here once the panels are moved.

Here's another good view of the nice flat-across treadwear on my Hydroedges!


Up inside the wheel well, there are more expandy-clips to remove -- one on the inside and one or two at the outer edge. Here again is where having the car partially unweighted off the wheel can help create more room to work.

These clips undergo a fair amount of vibration and stress in dirty locations, and the little side ears often just plain break after a few years. That's why Toyota sells new clip-pins in bags of ten, well worth the minor investment to have some extras on hand. This size fits well around many places in the bodywork.

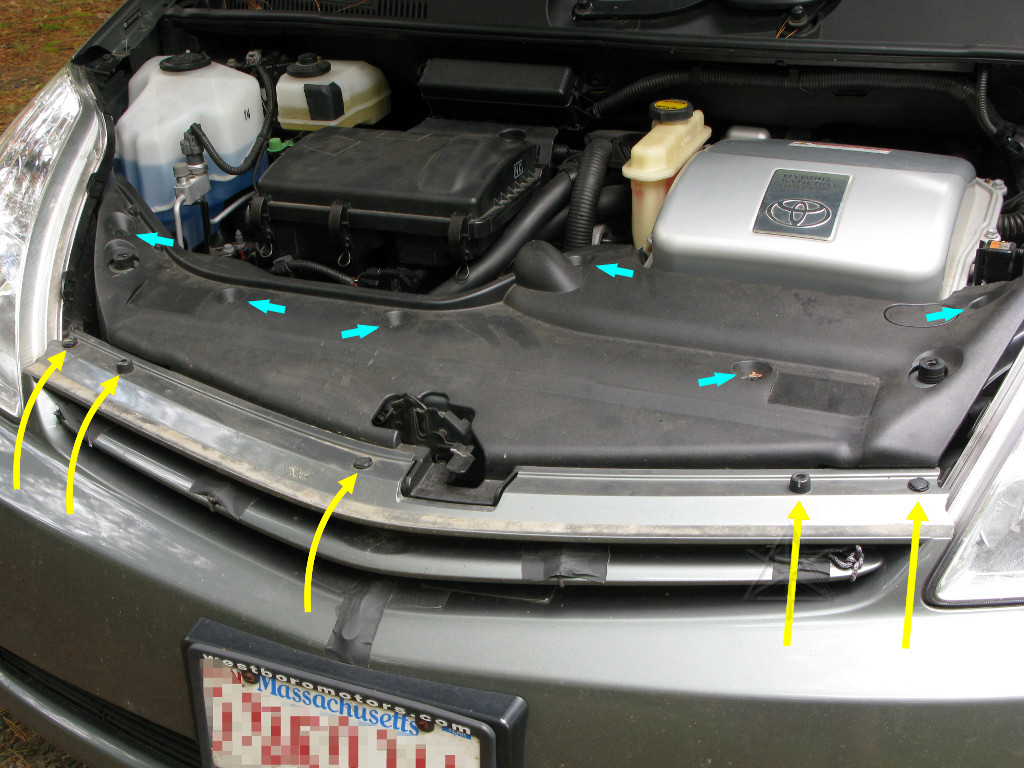
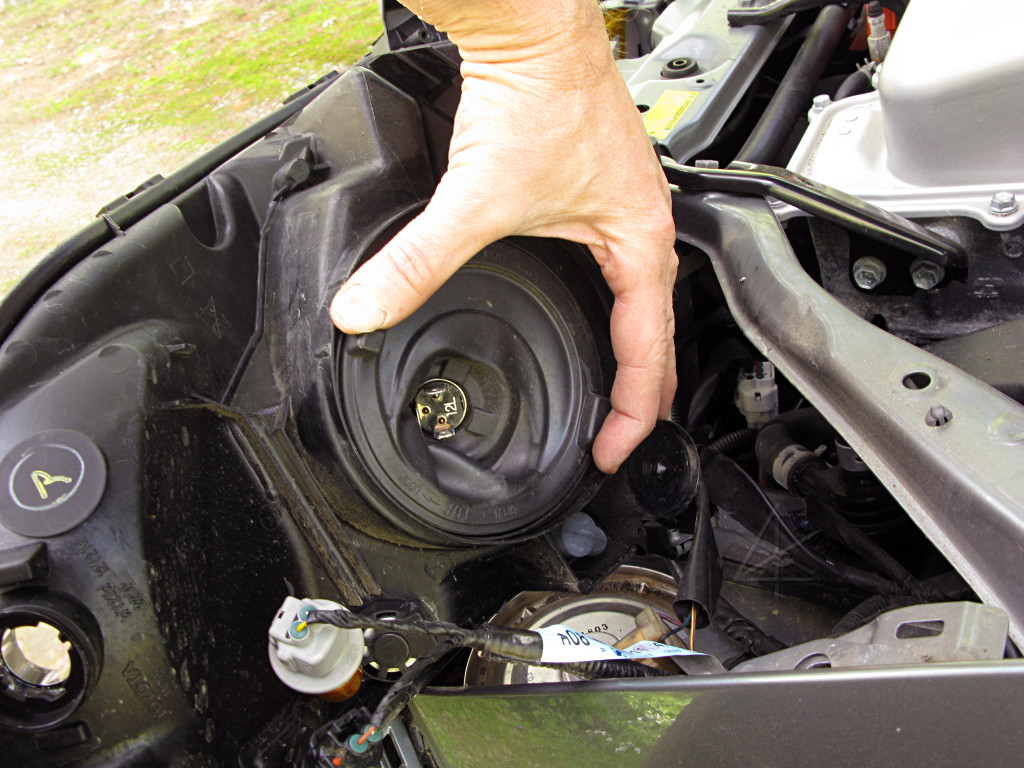
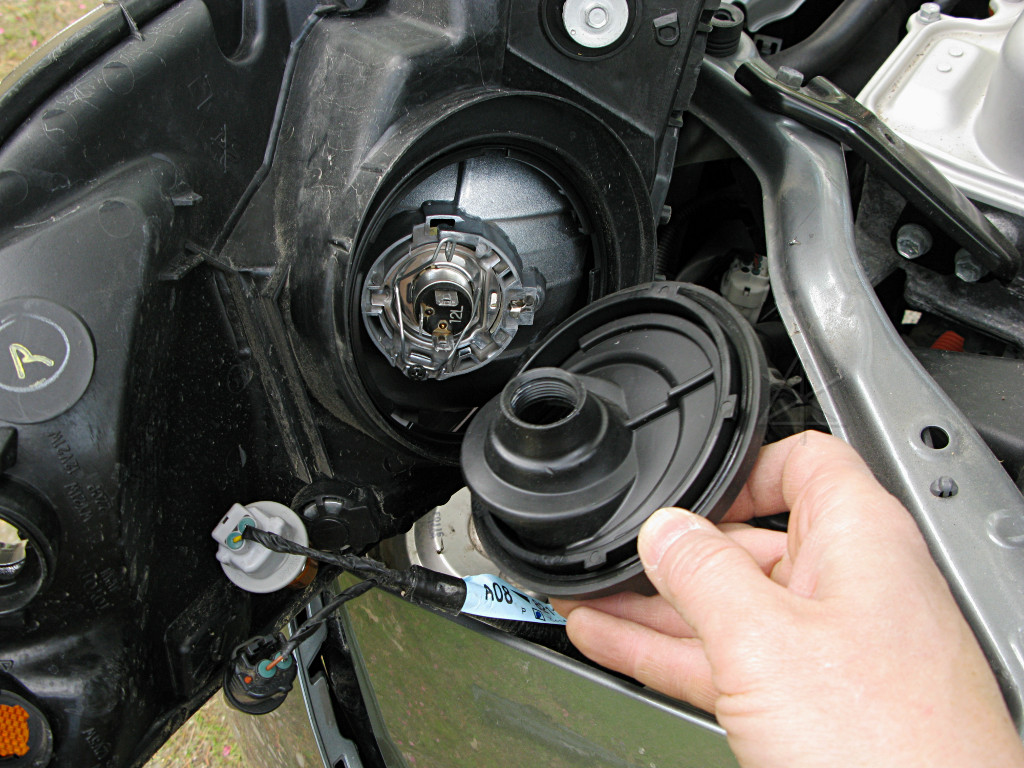
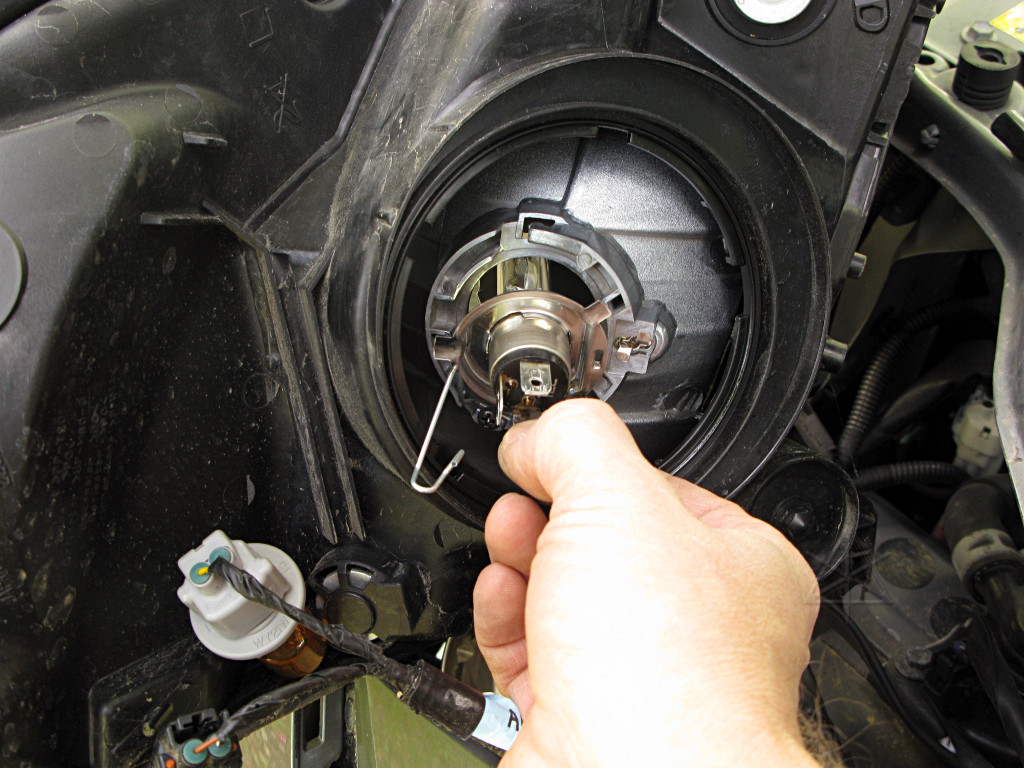
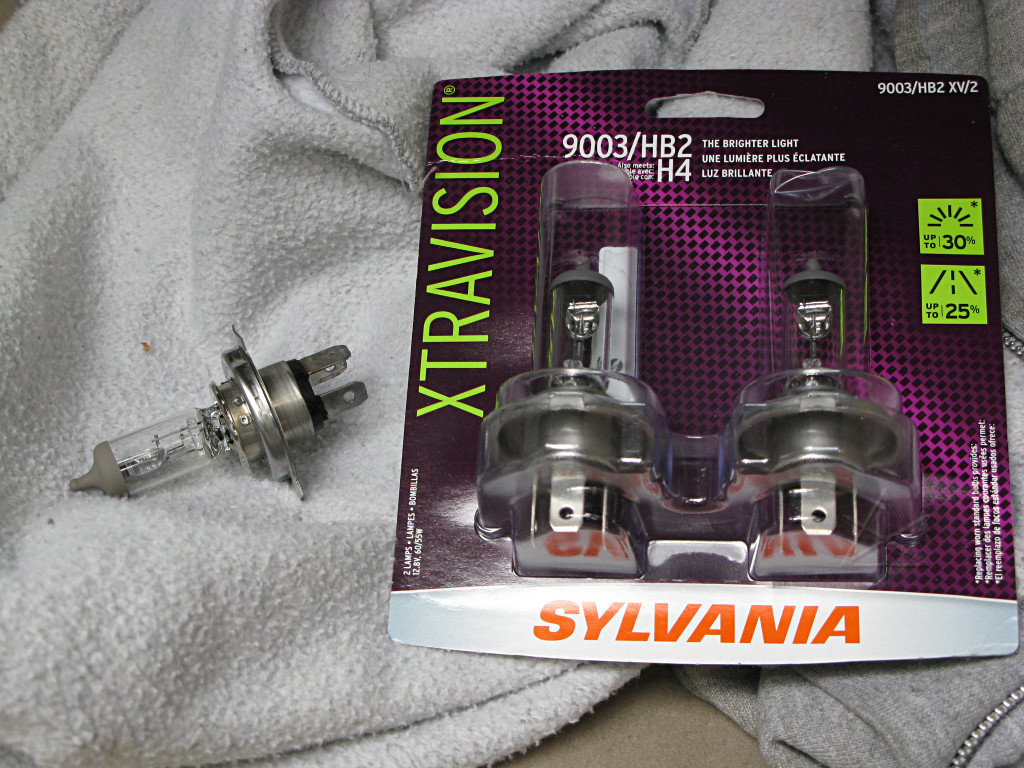
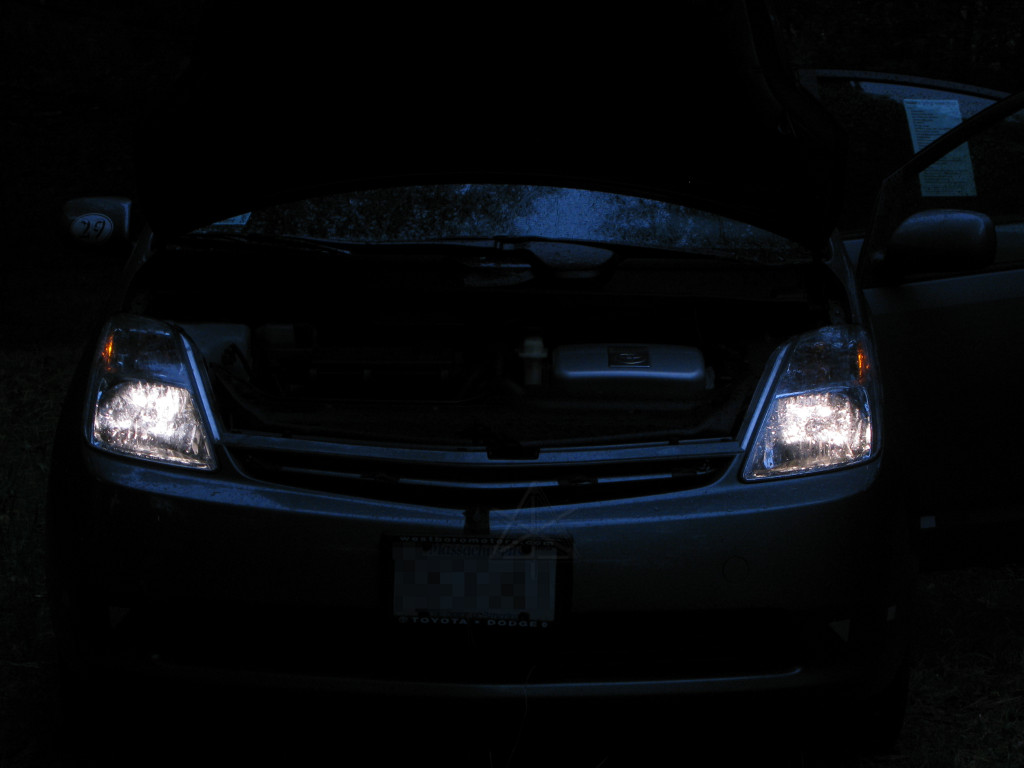
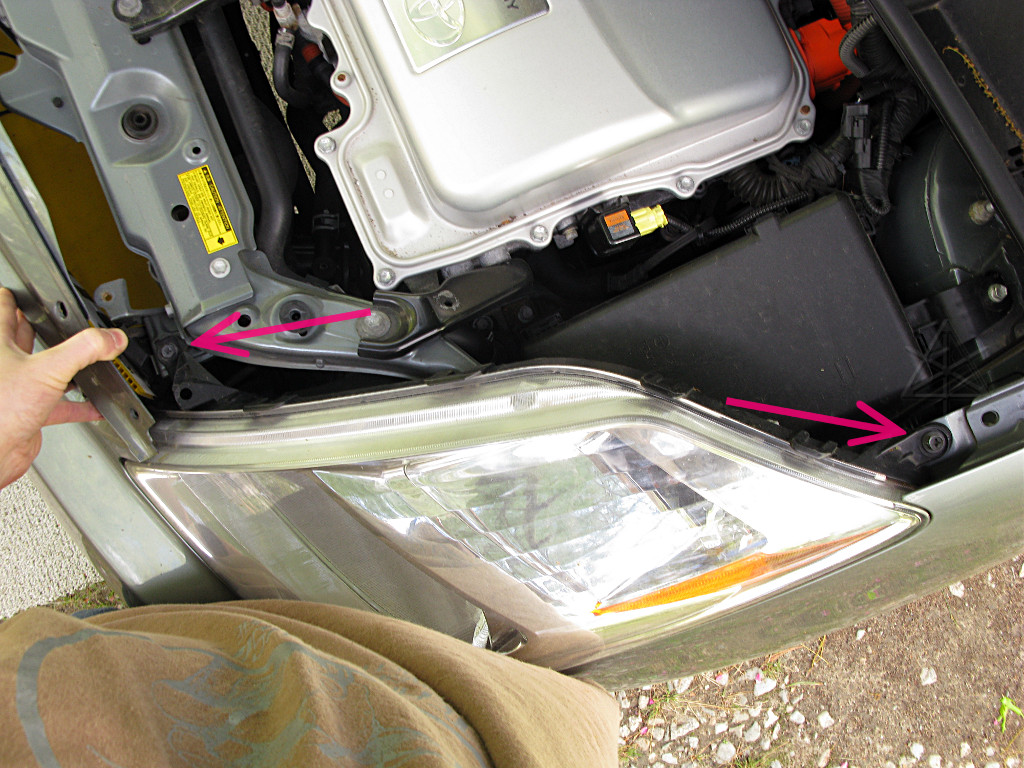
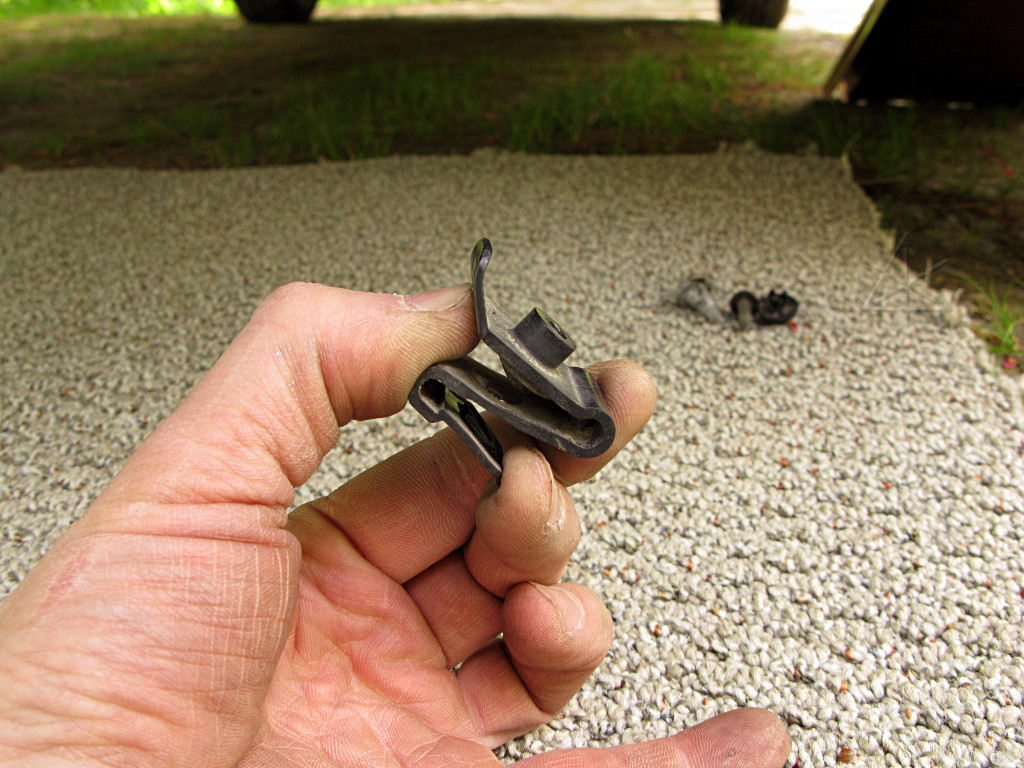
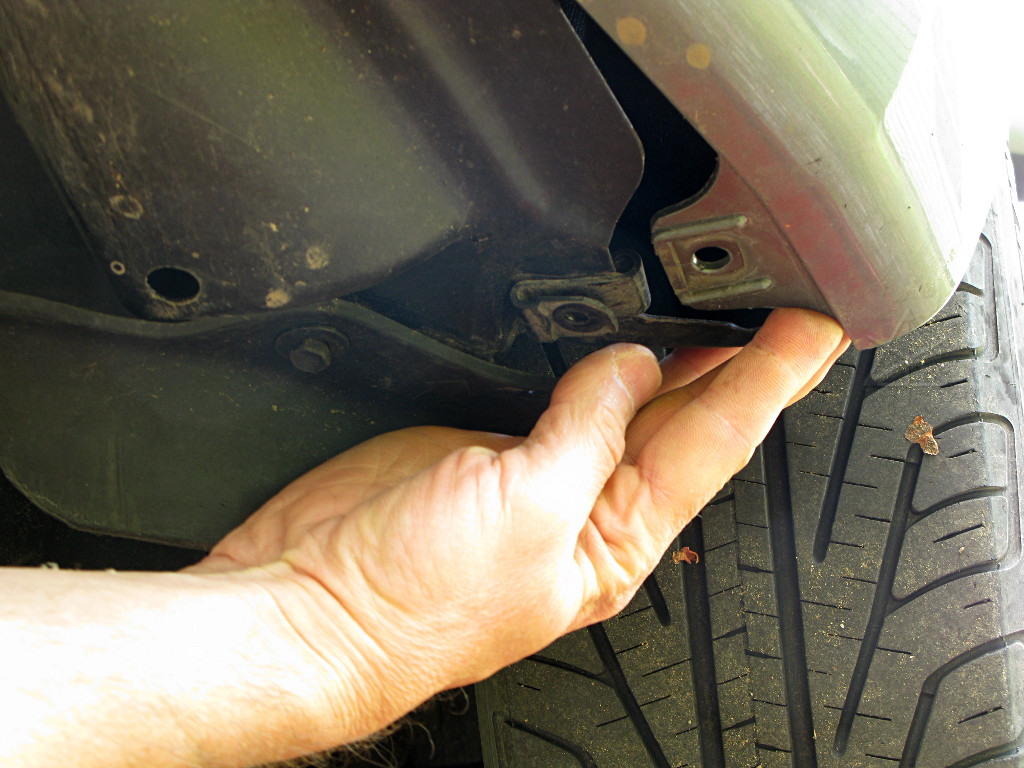
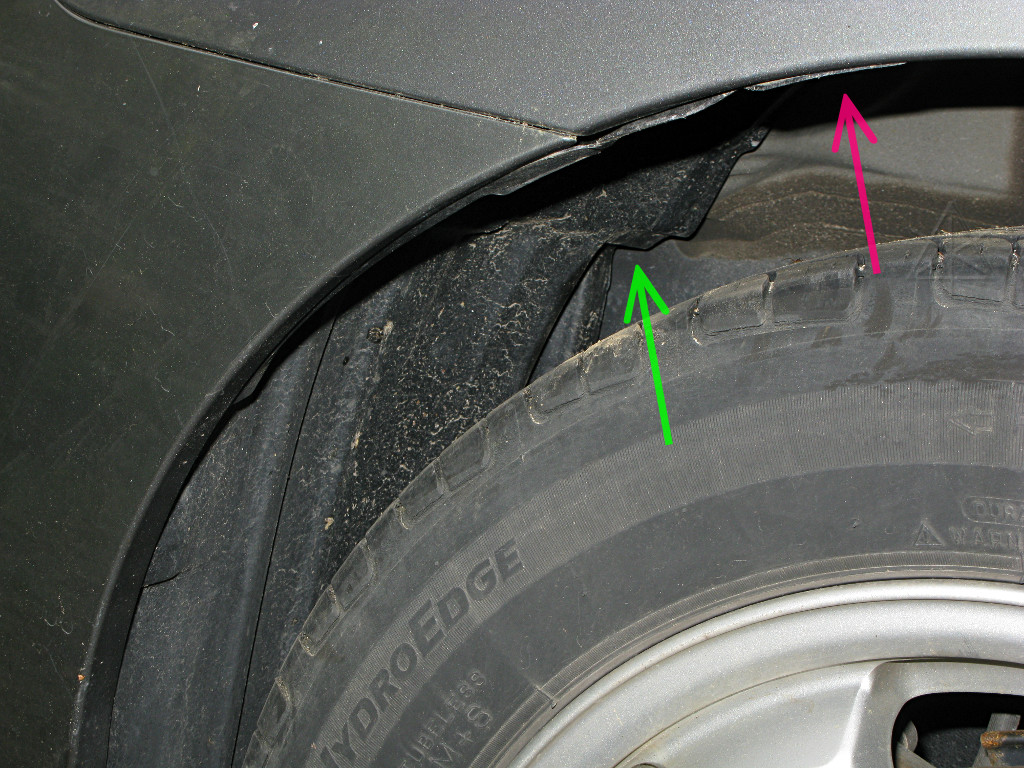
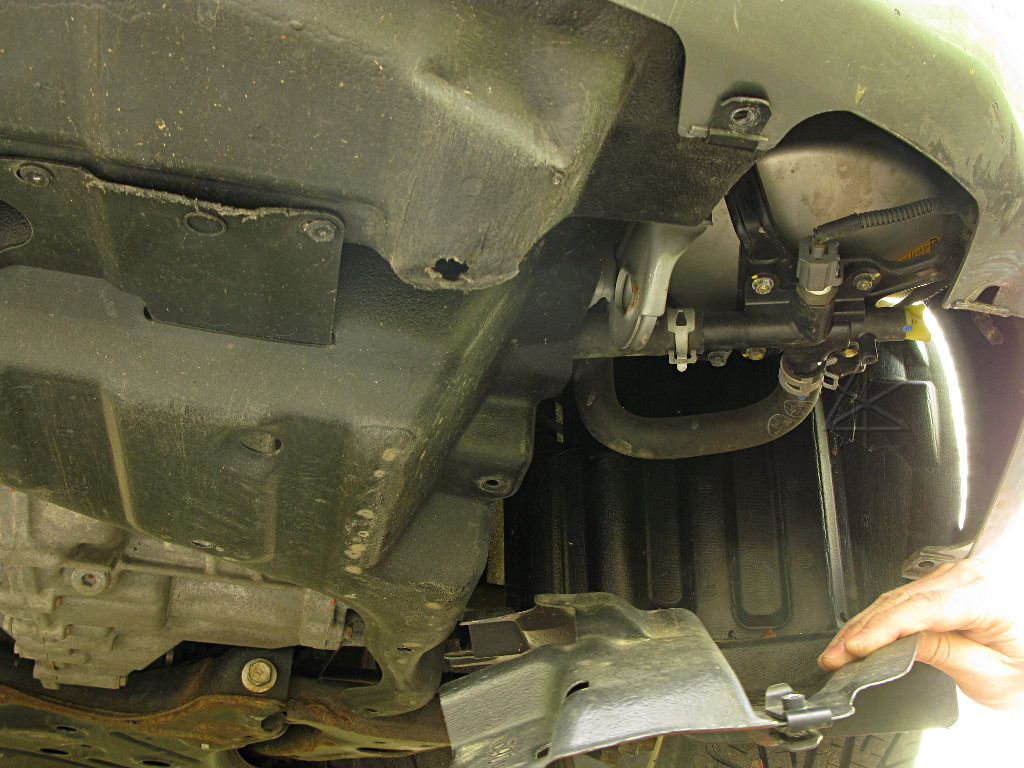
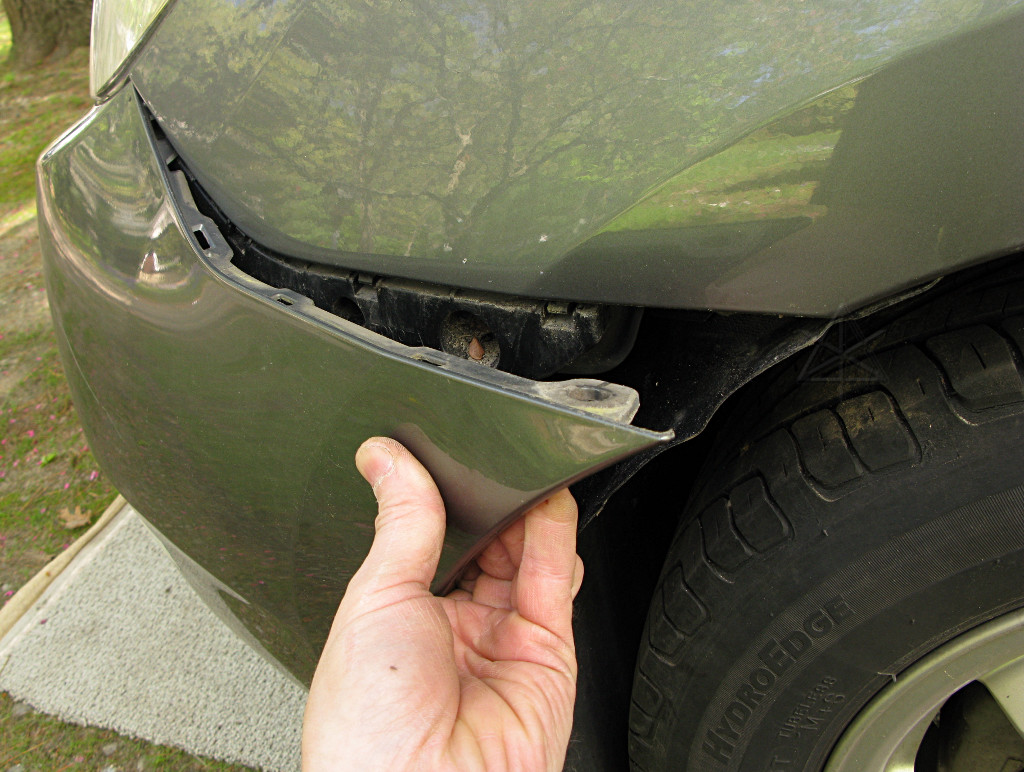
With the front edge of the fender-liner now freed up, it can be bent downward to expose the coolant storage thermos.

If this was a steel piece like back in the old days, the entire thing would likely have to be removed, probably meaning removing the wheel and some other parts first. That's why mechanics love this plastic stuff -- it makes 
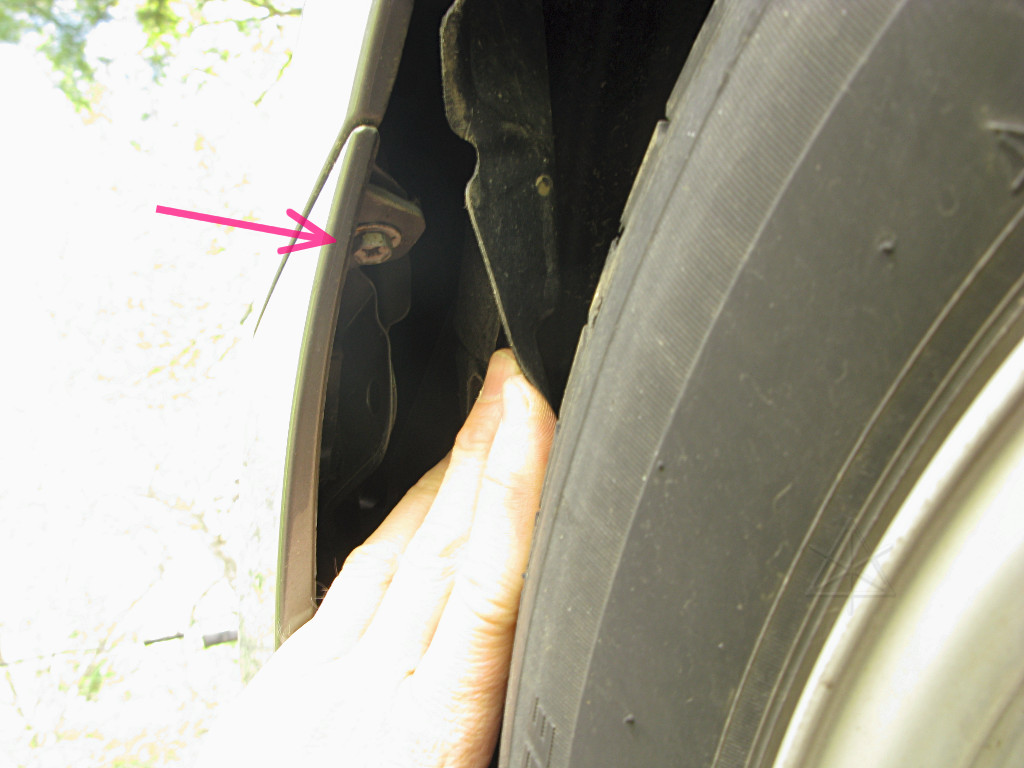
quick access like this possible. Of course the fender-liner *can* be completely removed with a little more work, as shown here, but we don't need to in this effort.

[Although I'm sure there were more than a few garage guys who would bend aside steel parts with impunity and just mangle 'em back into place afterward, figuring the customers would never notice a few odd kinks and wrinkles in parts of a car they never ducked under and looked at.]


Here's the big key to the nosepiece, though: behind the fenderliner edge is this one magic non-obvious screw that holds its outer corner.

Removing the screw allows that whole end of the nosepiece to be gently unclipped and flexed outward.

This trend continues all the way around to the front and under the headlight module, which has its own integrated clips that support the nosepiece too.

At this point if the remaining S-clips around the front edge underneath and the parts around the other fenderliner were removed and freed up, the entire nose of the car would drop off and leave it more or less looking like this.


But in the interest of shortcutting disassembly time, all we need to do is bend the flexible plastic aside to expose the third bolt of the headlight.

Which isn't the big obvious silver one staring us in the face here -- that just holds a backing support piece for the nose. The real one is underneath and recessed back a ways.


In fact, all three headlight fasteners are identical shoulder bolts with a dark finish, just with varying degrees of rust depending on where they were located.

With all three bolts finally out, the headlight unit can be extracted and flipped up to better expose that elusive back side that's normally crammed up against the relay box. It's a little more open behind the one on the passenger side after the intake assembly is removed, but still pretty tight back there.

The marker and directional lamp holders are trivial bayonet-mounts; turn counterclockwise a little and pull out as shown in the owner's manual. These two can be accessed without taking the headlight assembly out at all, of course, but this just better shows how they go in. The connectors don't have to be pulled to replace the wedge-base lamps; just pull the bulbs out. It is sort of ironic that the white marker lamp goes into an amber housing, and the directional needs to be amber at the bulb because it goes into a white housing.

In this particular case the marker lamp was actually flakey, and often wouldn't come on until the unit was given an external tap. That's actually fairly common behavior in failing automotive lamps, and the reason is pretty obvious to see here. The filament is basically broken, but the two ends sit so near each other that any movement makes them touch momentarily. The circuit completes, and the current surge of lighting the cold filament creates a tiny weld that holds the filament ends together a little better. That and the ends getting pressed tighter together by thermal expansion can make the lamp stay on fairly reliably for the rest of that time it's on, and then after it cools down again we play the same game over again.

Best to just replace the thing.


Headlight bulbs

[*Note: this describes regular halogen lamps; models with HIDs will have an entirely different situation.]

The headlamp itself is tricky, and while this can be done in the mounted position by smallish hands it's much easier to see and do here. The connector pulls off, and the big rubber ring needs to be rotated a little counterclockwise until the edge catches release. The rubber needs to flex and twist around where the lamp itself is to make this work at all.


Then the ring can be pulled away, and the ribbed part around the lamp base slides off where it grips around the metal back end of the bulb. And all of this fits together at fairly crazy angles.

An obvious spring-clip retains the lamp mounting tabs, after which the bulb can be removed. Without touching the glass, of course.

Again, all this can be done half by feel without front-end disassembly, also aided on the driver's side by taking the relay-box cover off to gain an extra half-inch of working room, but good luck getting any pictures of that.


The opportunity *is* taken to replace the headlight bulbs, even though the original factory lamps lasted a remarkable five years and 110K without failing so far. The old ones can become spares and ride around in the car, for that inconvenient winter night in a strange town when one inevitably fails right around a time the local constabulary is feeling a certain pressure to perform.

It is said that halogen headlights become dimmer over time, or at least the manufacturers would want you to believe that and maybe replace them prematurely. This is with ONE of the lamps replaced so far, using these "xtravision" units claimed to be a little brighter than stock. Can you guess which one, from this or the big picture? Give it an honest try, and then look here for the answer.

However, there is no question that lamp filaments progressively degenerate over time, and most of that is due to metal loss and eventual weakening. A thin spot on a filament burns hotter, thus throwing off more metal, which makes it burn even hotter ... you get the idea. After five years here's the state of one of the old lamps. The low-beam filament on the left has a definite grainy appearance which comes from parts of its own tungsten metal vaporizing and flying off, in a phenomenon called sputtering. Similar roughness is observable on the marker lamp filament shown before, too. In a quartz-halogen lamp, the metal vapor lands on the hot glass envelope which is designed to throw it right back inward and hopefully land back on the filament and reduce overall loss, but one can see that there are several other parts in here that can collect stray material. In fact, look at the end of the support wire above the low-beam filament -- it's growing little whiskers, and those surely weren't there when the lamp was new. That all had to come from the filament. Compare against the high-beam side [it's clearer in the big pic], which shows just a tiny hint of sputtering but frankly hasn't gotten nearly as much use over time as the low-beams.

Many lamps don't burn hot enough or close enough to their glass envelopes to really heat them up to metal-rejecting temperatures, and those lamps gradually turn dark over time instead -- the other phenomenon we've probably all seen.

Now, it would be safe to say that a lot of the distance this car has gone *has* been in daylight hours, especially on roadtrips where I actually want to *see* what I'm passing! So my old lamps could have somewhat fewer running hours on them than for other drivers who put in a lot of night-time miles.

Anyway, dropping in a pair of new lamps can't hurt at this point just to give more relatively worry-free miles before suddenly becoming a "padiddle" in the middle of the night. But besides capturing the procedure for knowledge's sake, there's another ulterior motive for pulling the driver's-side headlight assembly -- read on to find out!


Go to Part 4: Inverter pump


_H* 091003