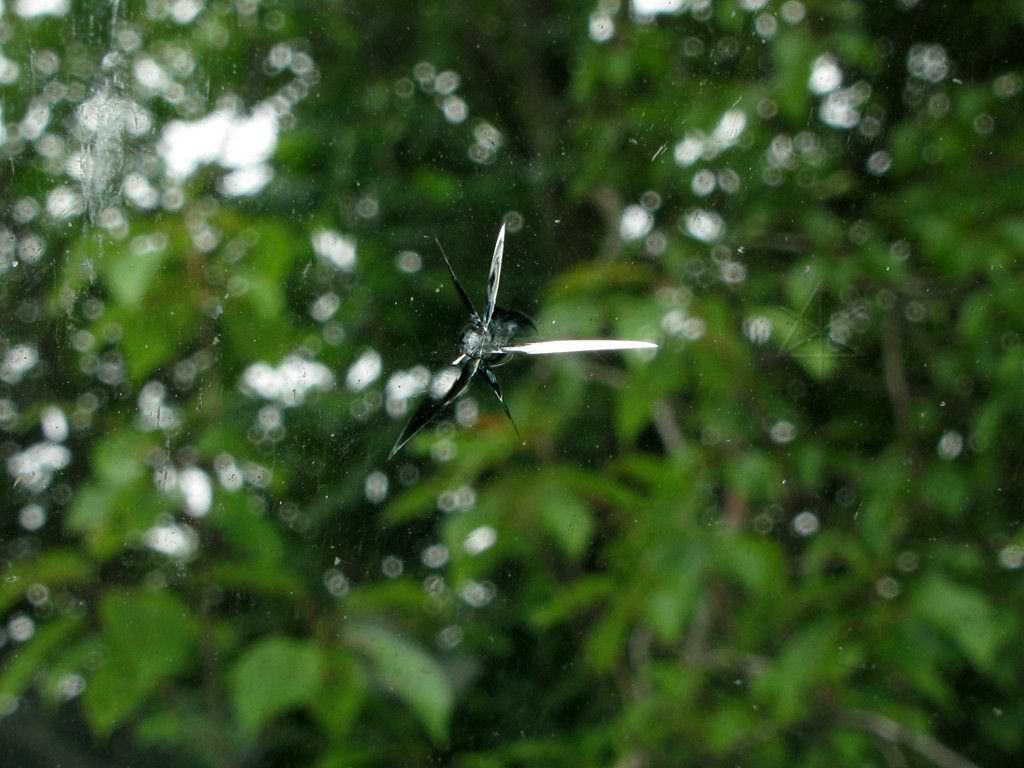
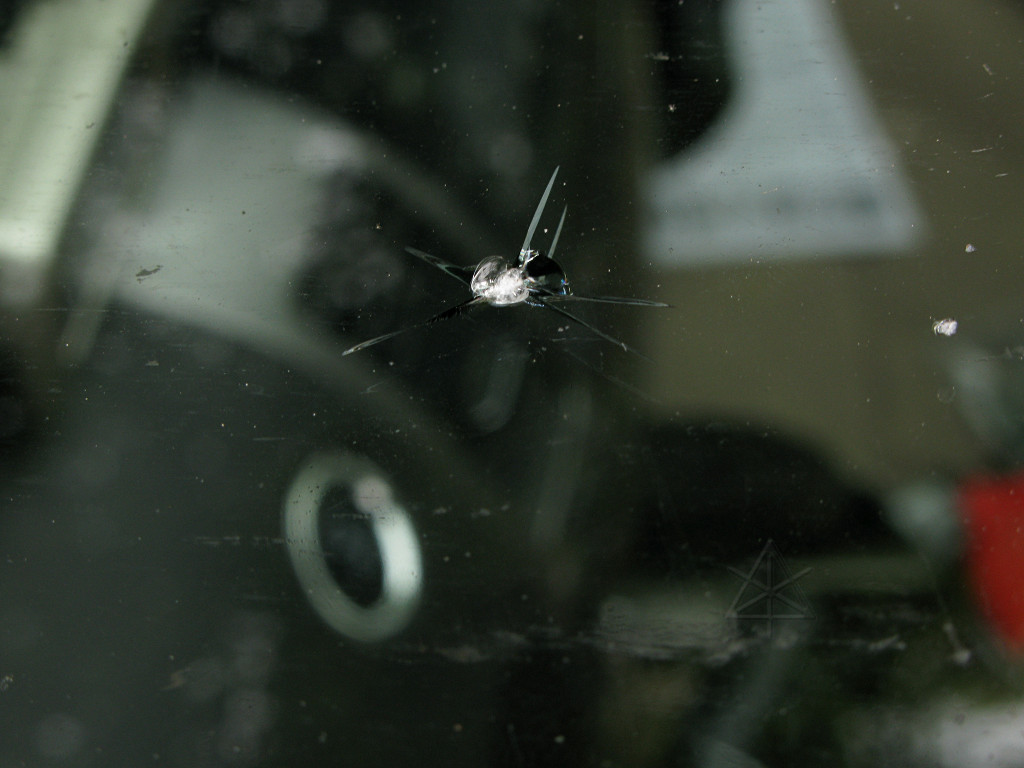
Quick windshield fix

or, Follow the bouncing rock

One good reason to leave plenty of following distance behind trucks is that they tend to throw up detritus from the road, including small stones which can sometimes fly a good distance in the air before landing -- enough hang time to strike the windshield of a car behind. More room allows more time for them to settle back onto the road. But all the distance in the world doesn't help when a truck is going the *other way* on a two-lane road and carries its own on-board supply of rocks to drop, which also has the unfortunate side-effect that they're moving faster opposite our own direction of travel as they bounce high into the air.

I was just heading out for a brief roadtrip to the Cape, and part of my route to the highway goes past a gravel supplier. Their dump trucks are always pounding in and out of the area and they're usually pretty good about load securement and using the load covers, but they can't be totally certain what happens over the occasional big bump. As I approached the highway one of their trucks went by the other way and probably slammed over one of the still-unpatched holes near the bridge expansion joint, because the typical boom I could hear from that was quickly followed by a loud *KAK!* and I realized that something new had just appeared slightly above my sightline and it wasn't a squashed insect.


I've heard that sound before, but not this loud and any prior stone strikes haven't managed to leave any marks. This one must have been quite a bit larger, because now I suddenly had a star crack almost an inch across staring me in the face while I was still rolling along.

Aaah, crap.

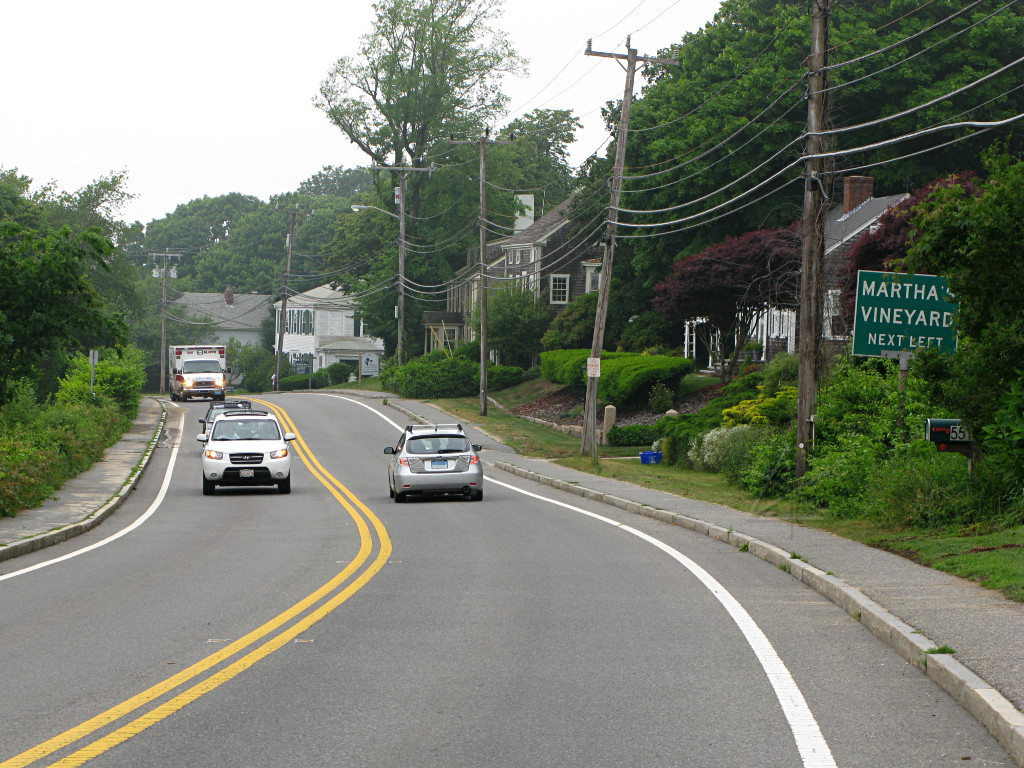
The major problem with cracks like these is that once started, they can quickly grow and stretch all the way across a windshield as it undergoes further stresses from car body flex, thermal expansion, etc. Last thing I need is to have to replace a windshield because of one lousy gravel truck and an unfortunate coincidence of motion dynamics. So now, on a nice Saturday morning with nothing else on my mind I had this to deal with as soon as possible. Fortunately I knew what to do, because this had happened on a previous car many years ago and my first go-round with fixing that met with good success back then.


Here's what it looked like from the inside. I didn't immediately abort the trip, but continued onto the highway and watched the crack a bit -- it wasn't expanding any farther as I approached the next exit from which I could have gone to an auto-parts store, so I continued my run to the Cape and figured I'd have some time to try and fix it there.

Somewhere in Falmouth I found an auto-parts place and got one of the fix-it kits from Permatex, and retired to a convenient and mostly tree-shaded slot in a parking lot at a Chinese restaurant to attack the problem.


The video offered at the Permatex site is actually worth watching if you've never done one of these fixes. A syringe is used to place a substantial vacuum on the damaged area, pulling most of the air out of the cracks. It actually does bubble a bit, although some of that is also coming in through pores in the dual-sticky foam disk. That evidently happens despite cleaning around the spot with alcohol and sticking the disk down very firmly, but it seemed a little odd at the time. The point is to suck the air out, which lets the sealant run in and replace it once the vacuum is relieved back to ambient pressure and then changed to a bit of *positive* pressure as the plunger is moved the other way.

It's not perfect, but drives the "resin" quite far into the cracked area and that's the whole idea -- to lock those cracks closed again so they don't start widening farther out.


The kit suggests having a sunny day and taking the full time to let things settle in, but my conditions had become a little sub-optimal. With a hint of approaching rain I had to at least get the crack covered and the process started, which would at least keep water out of the damage if rain did really start. I also looked at where the holding notches are placed on the syringe handle and figured that more available pressure could be applied during the second phase, driving the resin farther into the cracks.

So I thought I'd cut another notch farther up the shaft and run it in to that point instead, making more pressure inside.


However, I outsmarted myself as the resin began to leak out from under the foam disk. Oops! Some thrashing combination of wiping up the excess, holding the disk down harder, and applying more pressure by hand followed, and I think I managed to hold things together long enough but likely not the full 20 minutes suggested in the kit instructions. Eventually I got things stable and the little bits of spitting rain had moved on, so I left my little disaster alone for a while with a small amount of pressure still applied and went into the restaurant to get lunch. Least I could do in return for camping out in their parking lot for a while was give them some business.

The final step is to apply a "curing patch", which would allow the resin to fully harden under the UV from sunlight. This was rather curious and I also didn't *have* full sunlight that day, so the patch would have to remain on the windshield for quite a bit longer than I had to just sit around waiting. A nearby fish and lobster place was kind enough to provide a couple of pieces of packing tape, which allowed fastening the patch down in a way that wouldn't let it blow off once I got moving again. I finished out the day driving around with this lashup still in place.

This got me curious and later I called the tech support at Permatex to ask what this "patch" really is, as its deceptive yellow color made me wonder if it's also some kind of light filter and/or special plastic formulation to interact with the resin in some way. The answer was that no, it's just a type of plastic that the resin doesn't stick to very well and allows easy removal later, but keeps air out of the damaged area as the resin is designed to cure *anaerobically* as well as under ultraviolet light. It's also flat and smooth and squashes any remaining resin out to a flat surface that interferes the least with the desired optical characteristics. This is a bit of a change from what I remembered from the previous time I did this, where the sealant had been common cyanoacrylate aka Super Glue. But the Permatex guy said that had fallen out of favor as cyanoacrylate has a different expansion coefficient from glass and tends to fare less well over the long term in such fixes. Well, my old fix hadn't had a problem but that was a smaller crack than this so hopefully I didn't bugger this up too badly and it will hold well. The cracks are largely invisible now, so they probably got sealed correctly.

It seems that having one of these kits onboard is probably a good idea for road trips, where a bouncing rock could come along almost anywhere and it might not be at a convenient place or time to go find a local supplier before the damage starts spreading. So, one more thing for the load list.


Not too many pictures came from that day, but this was my favorite scene near Woods Hole. Everybody knows that the Vineyard is an island, right? My only thought while tooling along here was, "*Sploosh*!"


I don't think Permatex makes a fix-kit for that.


_H*   100608